


A chandelier is more than just a light fixture – it’s a statement piece that adds elegance and charm to your space. But no matter how gorgeous your chandelier is, dust and grime will dull its sparkle over time.
Cleaning a chandelier can seem daunting, but with the right methods and tips, you can restore its sparkle and keep that shine for years to come. This chandelier cleaning guide will walk you through three methods – the drip-dry, white glove, and complete crystal removal – as well as safety tips and advice for maintenance.
Ready to bring your chandelier back to life? Let’s get started.
Essential safety tips before you start cleaning
Before you even think about cleaning your chandelier, safety must come first. Chandeliers are delicate, often hung at awkward heights, and involve electrical components. Here’s how to prepare safely for the task ahead:
- Turn off the electricity: Always switch off the power to the chandelier at the circuit breaker. Safety trumps convenience, so don’t rely on the light switch alone.
- Secure your work area: Place a sturdy ladder or step stool in a stable position to work at height. If needed, rope in a spotter to hold the ladder.
- Protect your flooring: Lay down a dust sheet or newspapers under the chandelier to catch any drips or loose parts.
- Wear gloves: Wear white cotton gloves to avoid leaving fingerprints on crystals and exposing your chandelier to oils from your skin. These gloves also help with gripping delicate parts.
Now that you’ve got everything safe and set up, let’s get into the three methods.
The drip-dry method

The drip-dry method is the fastest and easiest way to clean your chandelier. But it requires regular maintenance to keep it sparkling. Here’s how to do it step by step:
Step 1: Turn off the power and prepare
Make sure the electricity is off and your floor is covered with a drop cloth. Remove the light bulbs and plug the sockets with tissue to prevent water damage.
Step 2: Apply your cleaner
Use glass cleaner or microfiber cloth sprayed with warm soapy water to coat all parts of the chandelier thoroughly. Make sure to get each crystal and joint.Just wait as the cleaner drips down, taking dirt and dust with it. You may need to redo sections that are really dirty. Don’t forget to lay a sheet or towel under the chandelier, you don’t want to ruin your dining room floor!
Step 3: Dry and replace parts
Let the chandelier dry completely before touching electricity. Clean and install the bulbs before turning the power back on.
While easy, this method may not be thorough enough for heavily soiled chandeliers.
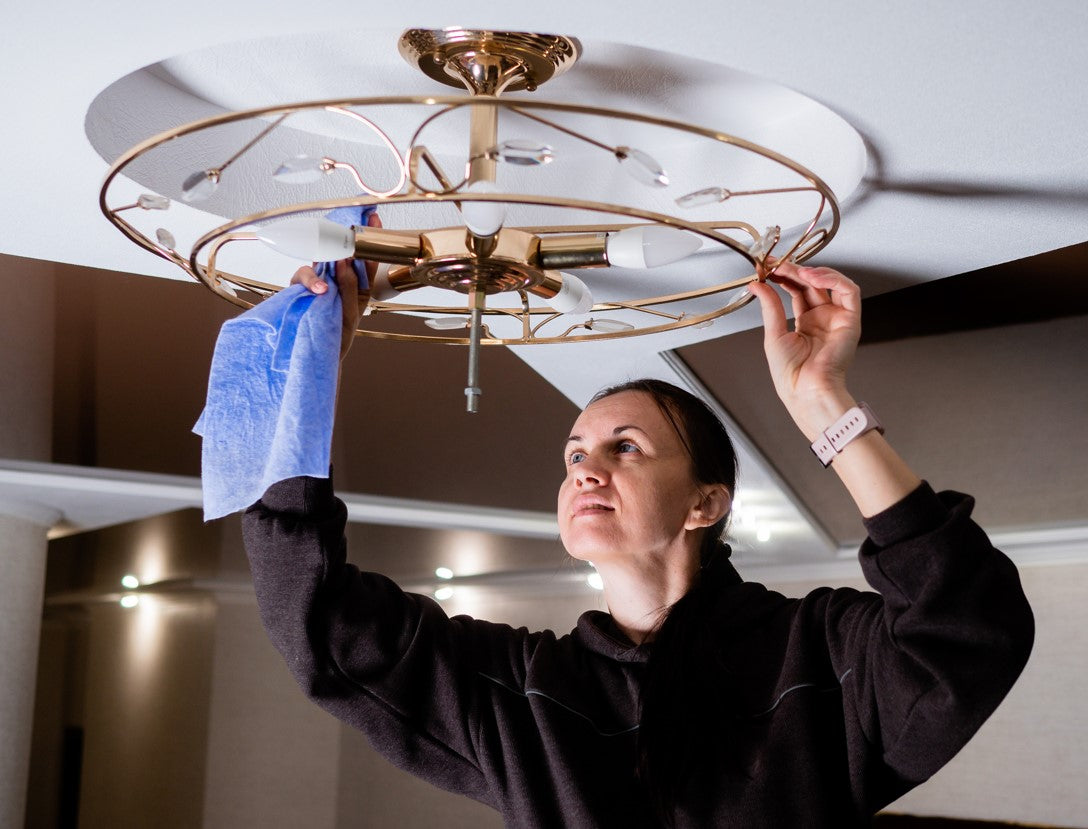
The white glove method

The white glove method is a more detailed approach, good for chandeliers with moderate dirt buildup. This method is elegant and less messy than the drip-dry method.
Step 1: Turn off power and secure yourself
Follow the same ladder safety and power precautions. Get a stable work platform, soft white gloves and a bowl of cleaner.
Step 2: Dip and clean each crystal
Dip your gloved finger in the cleaner and gently rub each crystal strand. Pay extra attention to nooks and crannies, making sure to get stubborn dirt out.
Step 3: Rotate and rinse
Refresh your cleaner as it gets cloudy. This ensures you’re not reapplying dirt and every crystal is truly clean.
Step 4: Final touch
Dry each crystal with a soft cloth or carefully wipe with a clean section of your glove. Moisture smudges can give areas a cloudy look.
Use this method for a clearer, deeper clean while being safe and comfortable.
How to clean a crystal chandelier - the complete crystal removal method

For ultimate sparkle, the complete crystal removal method is the way to go. This is the most time consuming but gives amazing results for chandeliers that haven’t been cleaned in over a year.
Step 1: Document, document, document
Before you remove anything, take photos or videos of your chandelier from multiple angles. This will be your reference when reassembling your chandelier.
Step 2: Disassemble carefully
Remove each crystal strand methodically, making sure to record its original position. If available, consult the chandelier’s manual for diagrams.
Step 3: Clean and rinse thoroughly
Place removed crystals in a cleaning solution, gently scrub with a damp cloth to remove grime. Rinse with cold water then dry with a soft, lint-free cloth.### Step 4: Clean the frame
While the strands are drying, use a damp microfiber cloth to clean the chandelier’s frame. Pay attention to intricate areas where dust tends to collect.
Step 5: Reassemble with care
Use your photos or diagrams to reattach crystals in their original position. Once reassembled, step back and admire your beautiful chandelier.
Regular chandelier maintenance tips
You don’t have to wait for a big clean to keep your chandelier clean. Regular maintenance can extend the time between deep cleans and keep your chandelier shining all year round.
- Dust often: Use an extendable feather duster to dust the surface every few weeks.
- Adjust frequency: Chandeliers in kitchens and entryways may need more frequent cleaning due to grease or high air movement.
- Inspect for damage: Check for bent frames, loose strands or dim light bulbs during your maintenance routine.
When to use a professional cleaning service
Sometimes cleaning a chandelier requires more expertise than you can handle at home. Call a professional if your chandelier is hard to reach, very dirty or very valuable.
Experts have the tools and knowledge to handle delicate fixtures with care.
FAQ
1. How often should I deep clean my chandelier?
It’s recommended to clean your chandelier thoroughly at least twice a year. For chandeliers in areas with more dust, grease or high air movement, such as kitchens or entryways, you may need to clean more frequently.
2. Do I need specialist tools/ chandelier cleaner to clean a chandelier?
Not necessarily. In most cases a microfiber cloth, a soft-bristled brush or a duster will do for surface dust and dirt. For deeper cleaning a solution of mild dish soap and warm water applied with a spray bottle works well.
Glass cleaner and Isopropyl alcohol also work well. You could also choose to find a specialist chandelier cleaning solution but avoid harsh chemicals that could damage the finish or the crystals. Always have a sturdy ladder and protective gear handy to ensure safety.
3. Can I clean my chandelier without taking it down?
Yes, many chandeliers can be cleaned without being removed. Use a secure ladder and gently dust or wipe each piece with care. For a more thorough clean work on small sections at a time to avoid missing any detail.
4. How do I change light bulbs in my chandelier?
Turn off the chandelier at the switch and circuit breaker to prevent shocks. Let bulbs cool down if recently used and use a firm but gentle grip when unscrewing. Use a compatible bulb to ensure functionality and appearance.
5. What if my chandelier has fragile or antique parts?
For chandeliers with fragile or antique parts, handle with extreme care. Don’t apply too much pressure and use soft cleaning tools. If unsure, consult a professional chandelier cleaner and restorer.
See our beautiful chandeliers
A clean chandelier is life changing, but what if it’s time to upgrade?
At Light Trend we have an impressive collection of high quality chandeliers that combine classic style with modern quality.
To browse our range and find a chandelier that will take your home to the next level, Click Here.


Leave a comment
All comments are moderated before being published.
This site is protected by hCaptcha and the hCaptcha Privacy Policy and Terms of Service apply.